Access the Project Settings page by clicking the Settings icon on any project card from the Projects dashboard. This comprehensive settings area is your control center for a specific project.
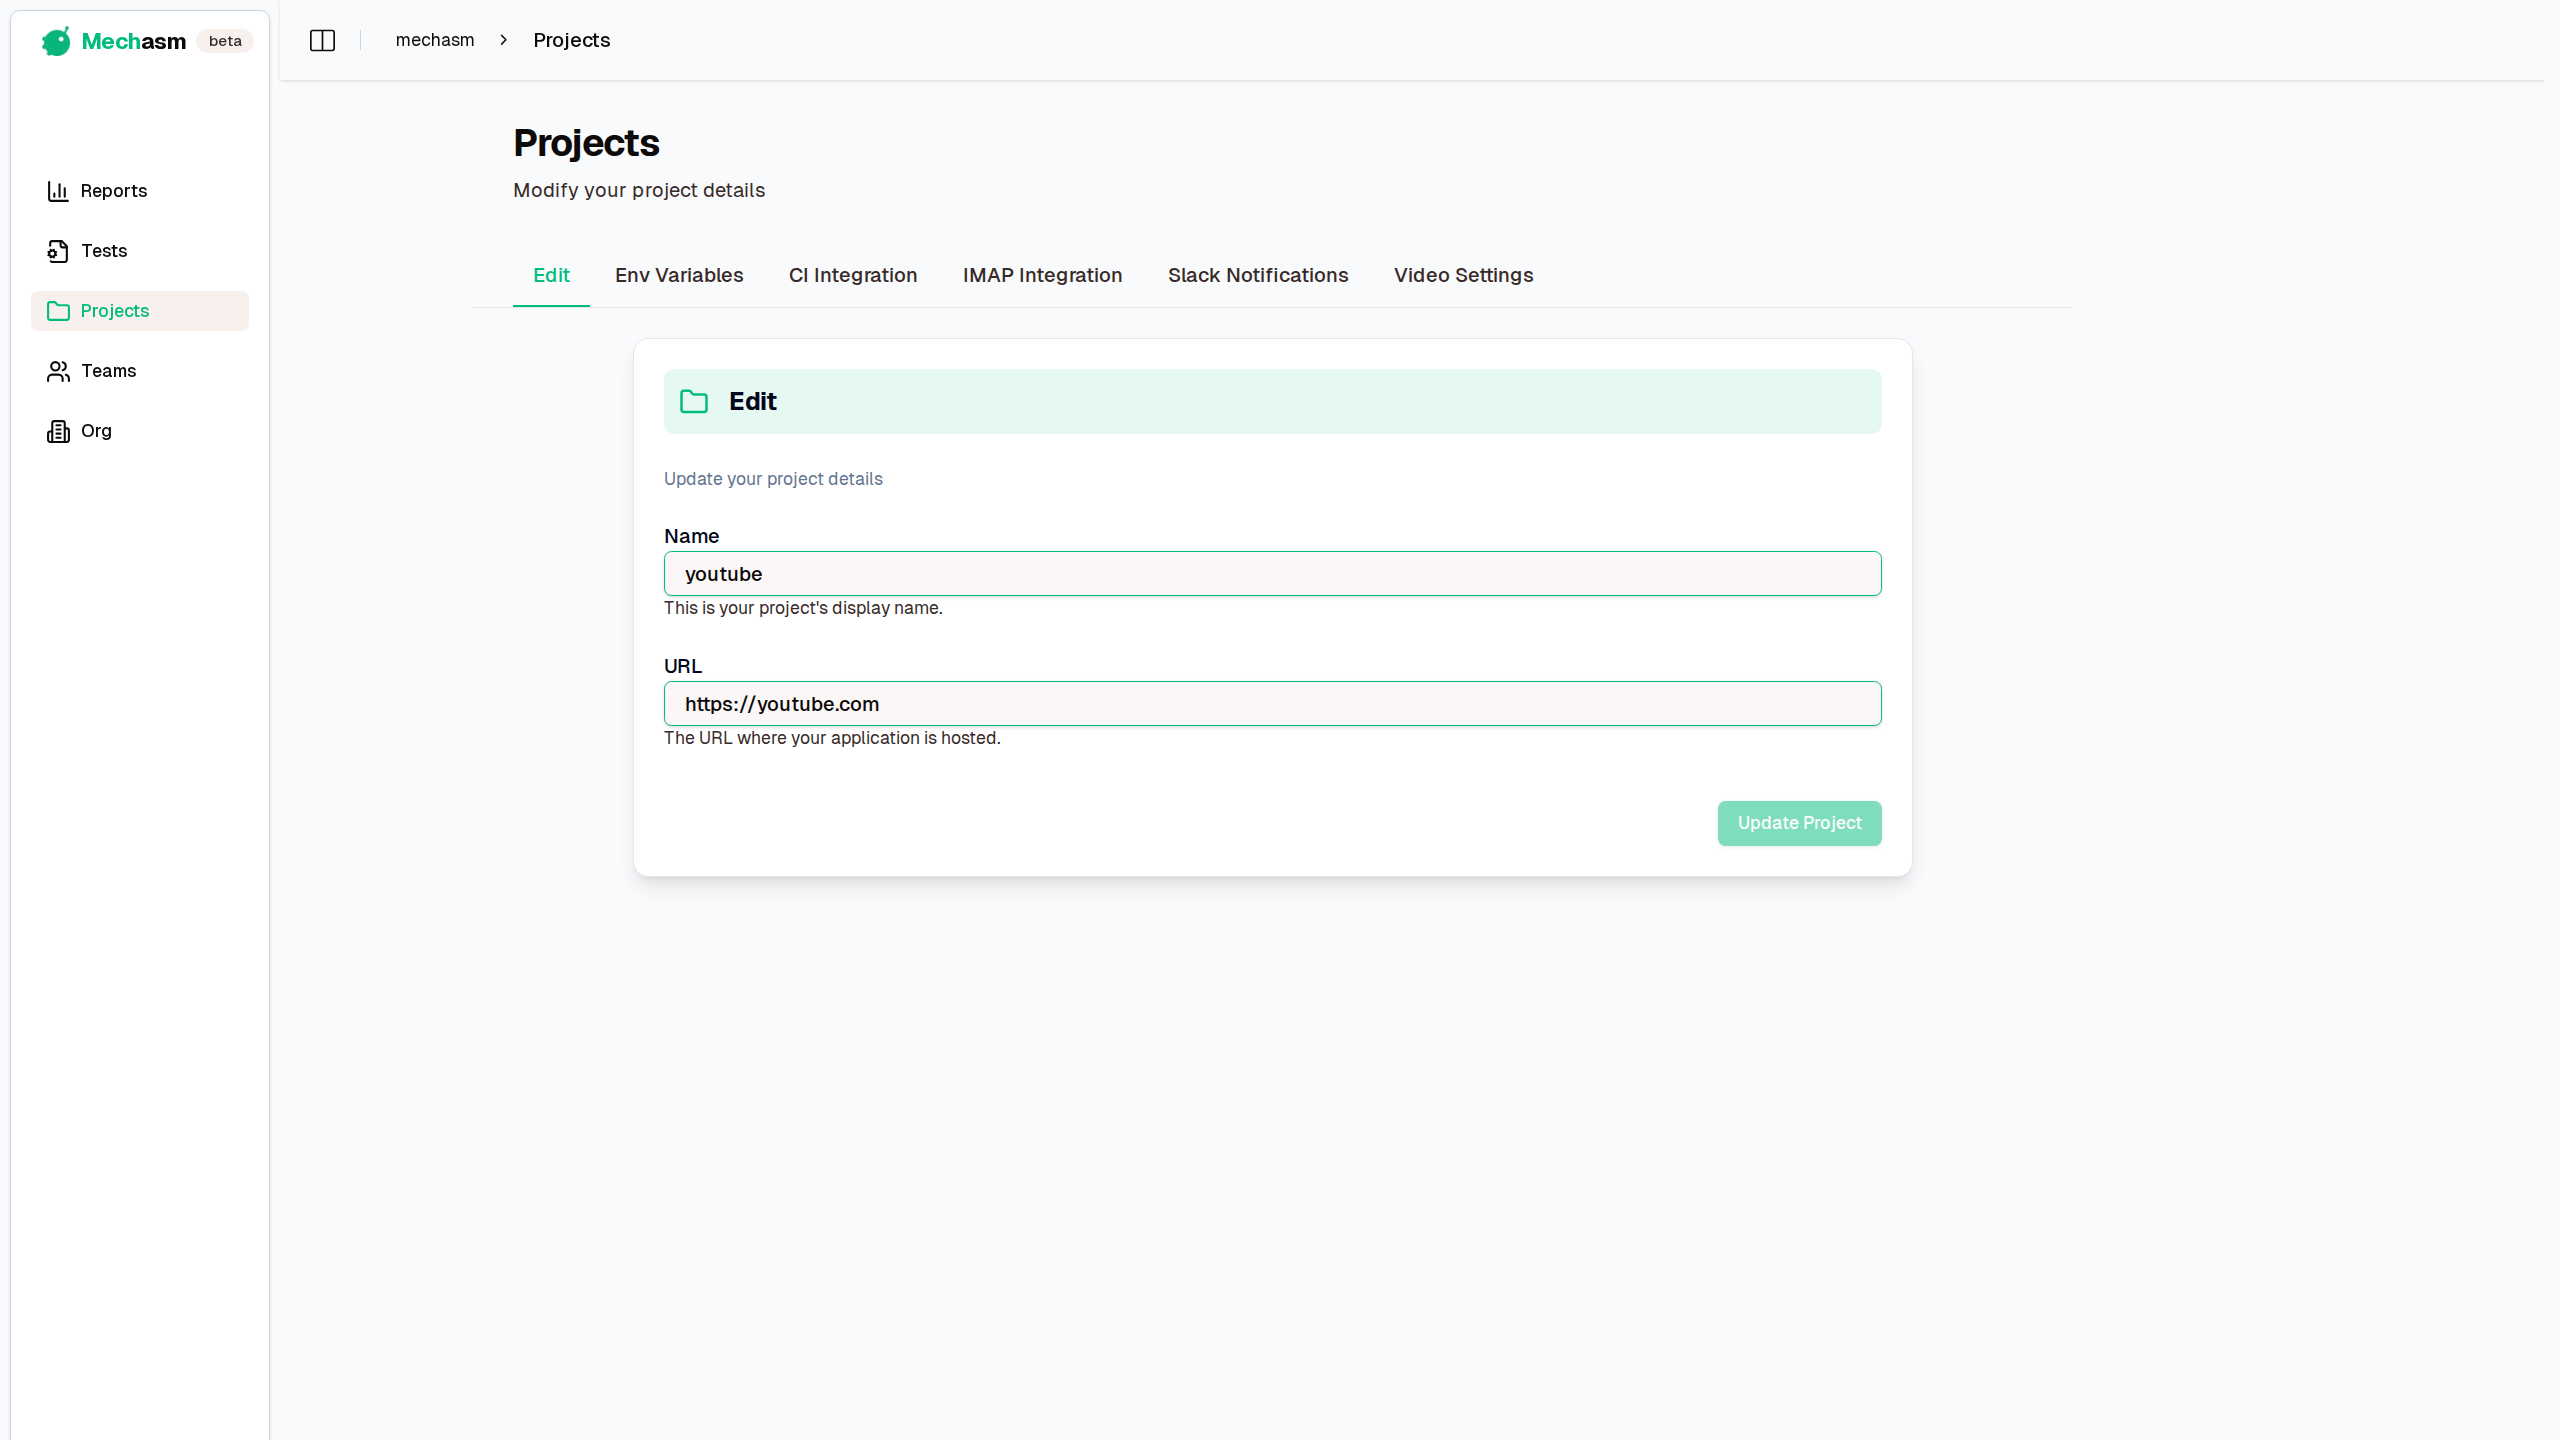
Edit Project Details
The Edit tab allows you to modify the project's basic information:
- Project Name: The name of the project.
- URL: The primary URL that your tests will be run against.
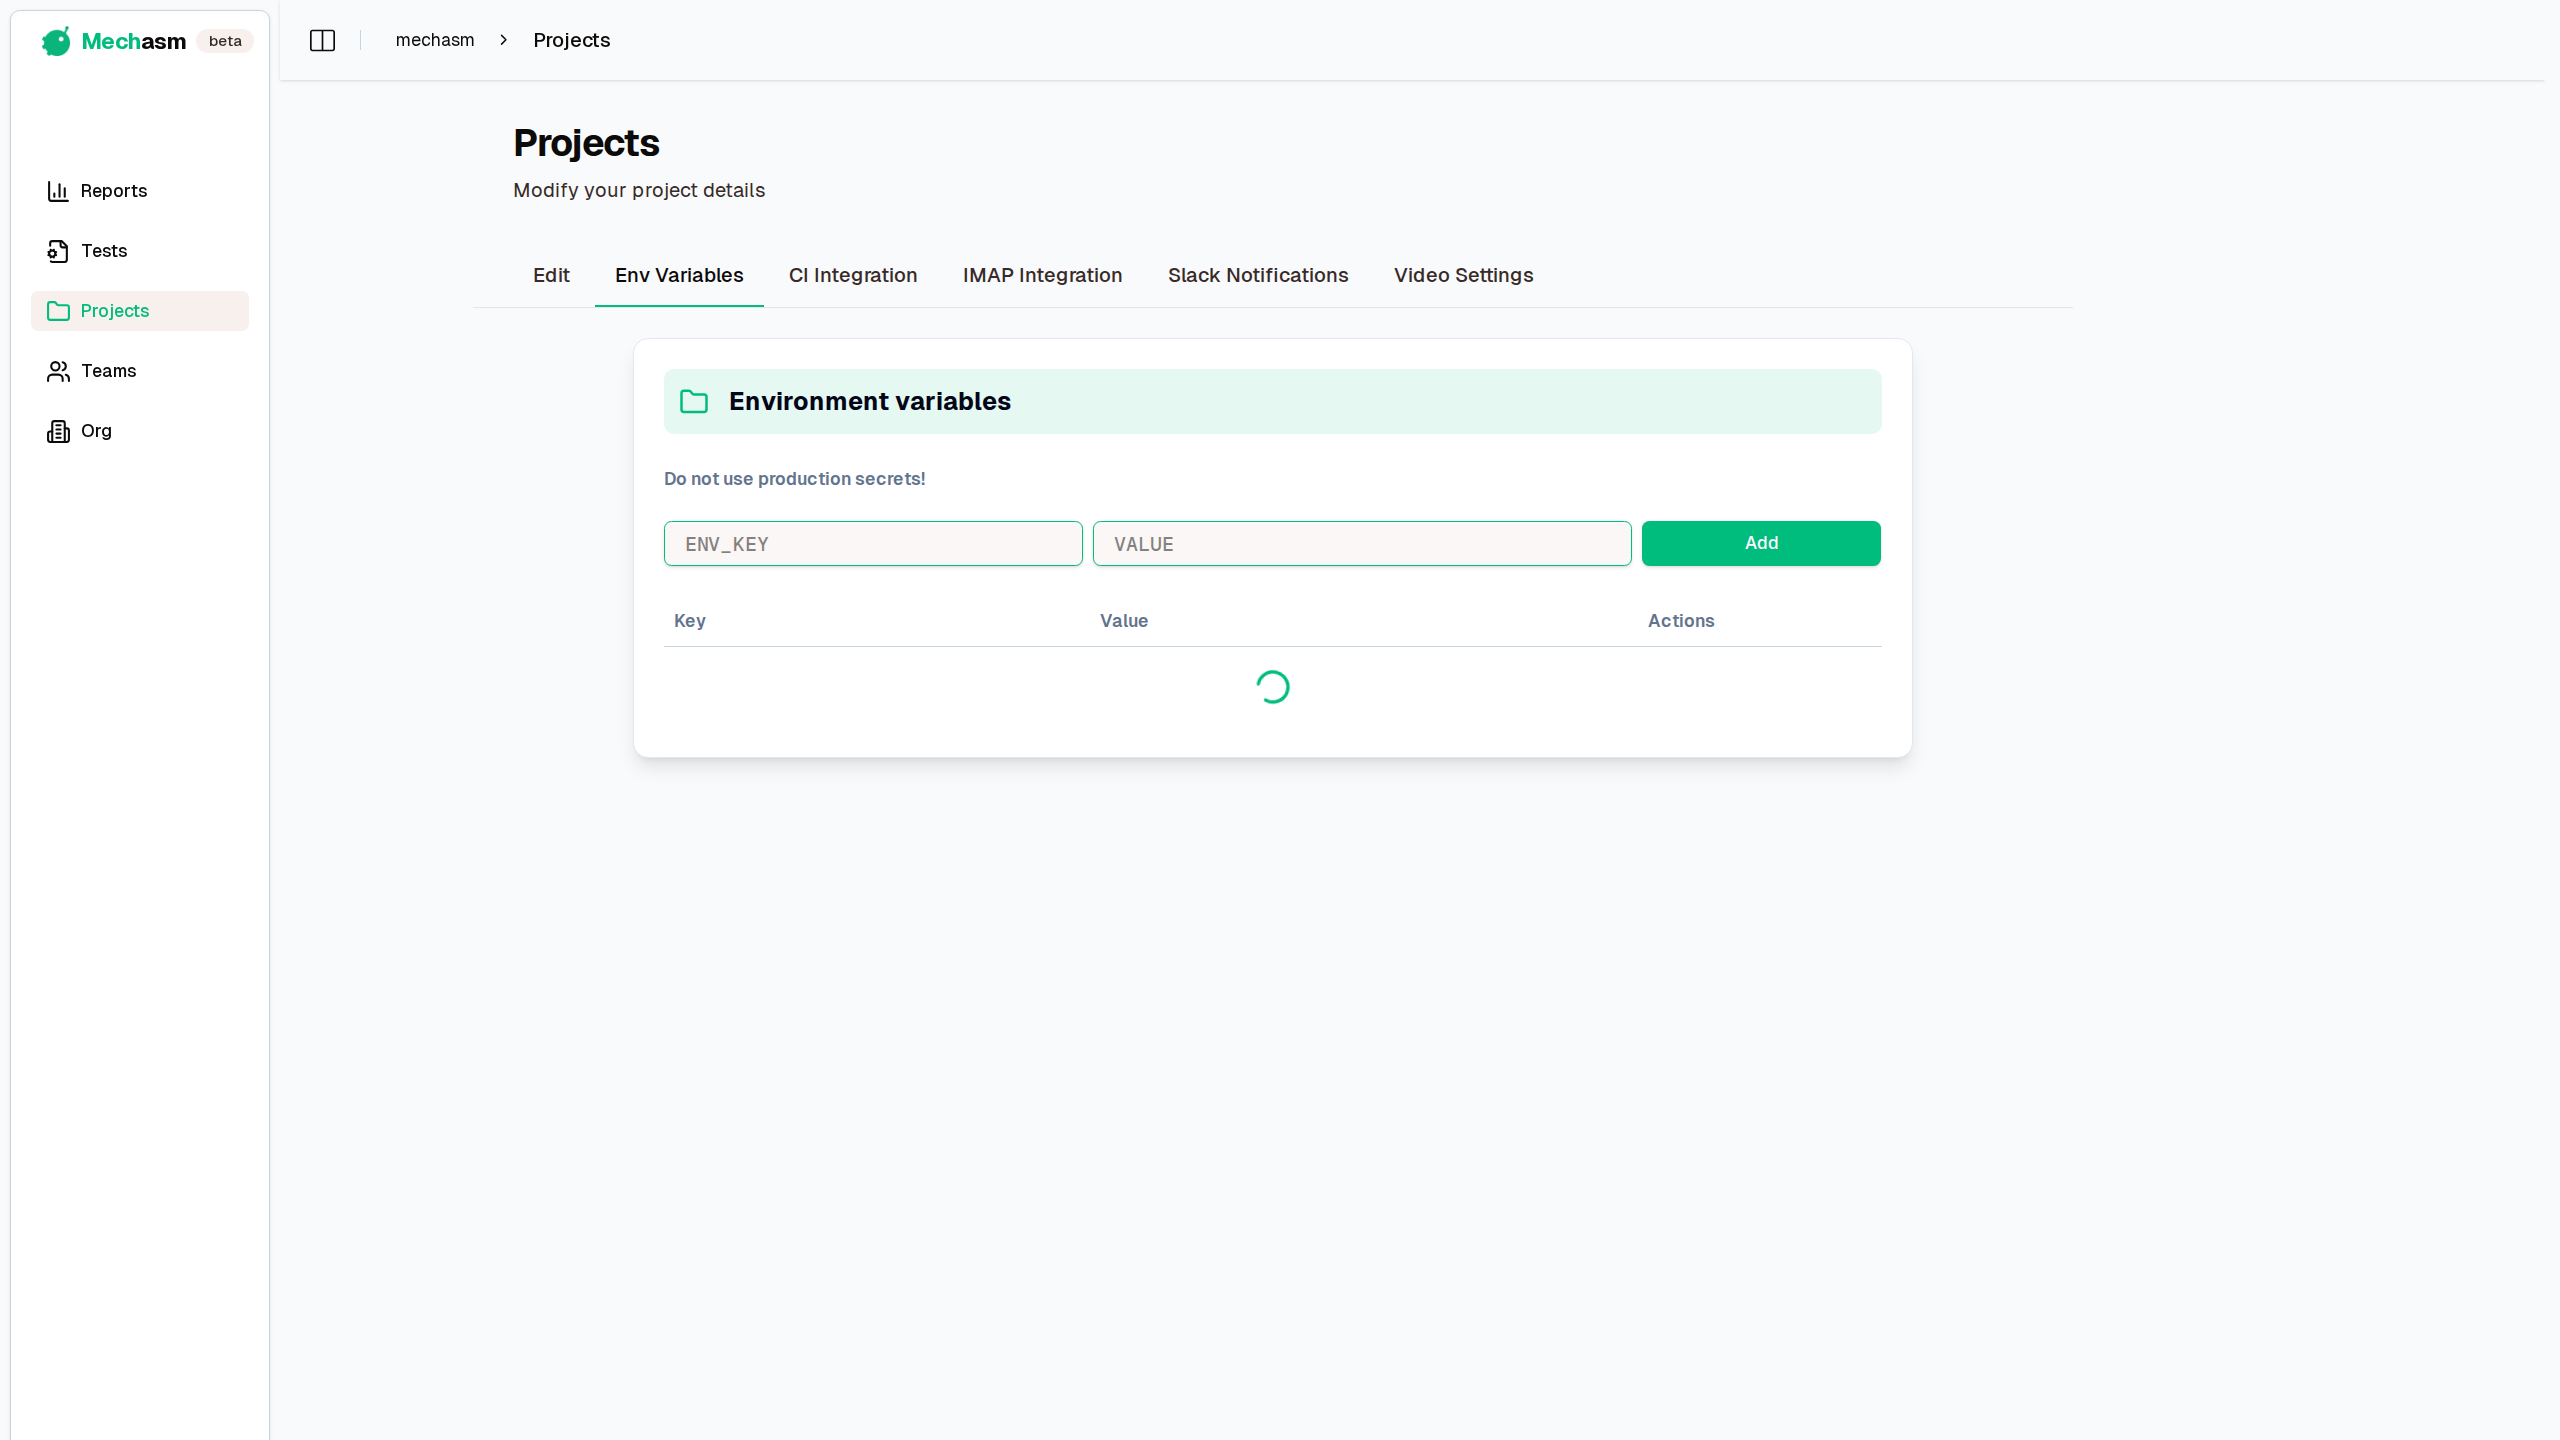
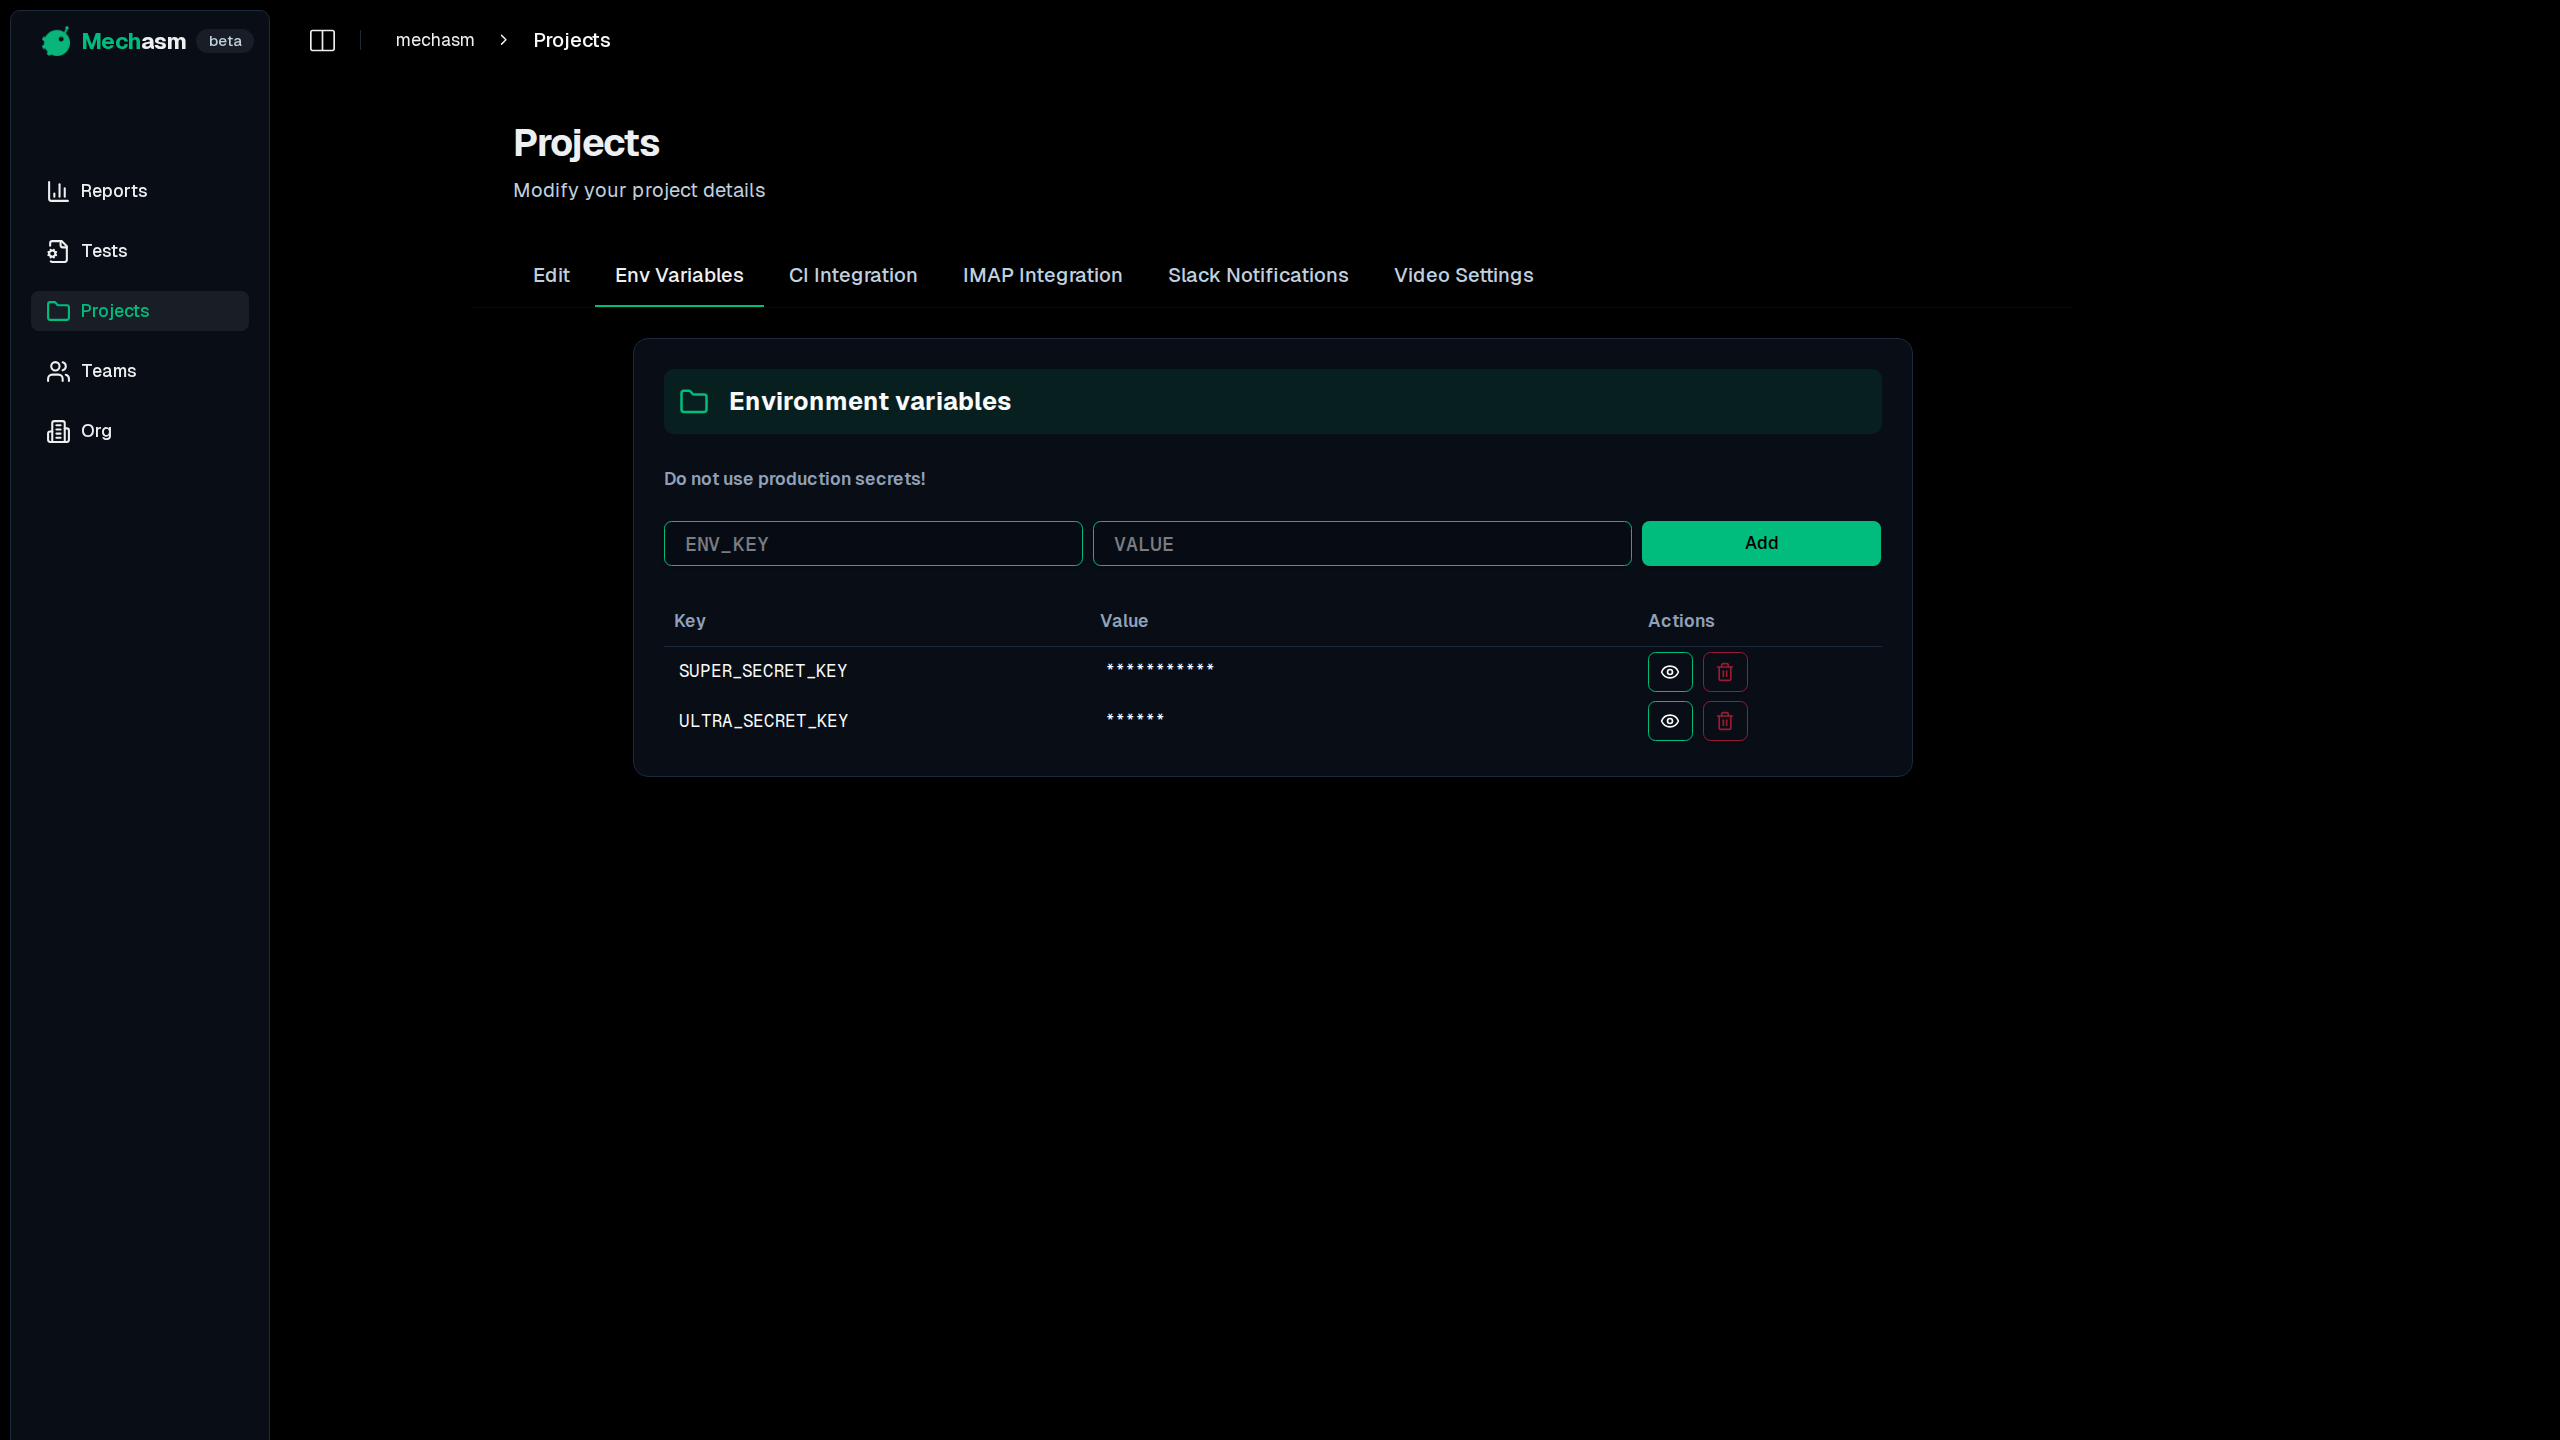
Environment Variables
The Env Variables tab is where you can manage sensitive data and configuration values for your tests without hardcoding them. You can add, edit, or delete environment variables that will be available to all tests within this project.
CI Integration
The CI Integration tab is where you can configure how your tests are run from your Continuous Integration (CI) pipeline and get the necessary credentials to do so.
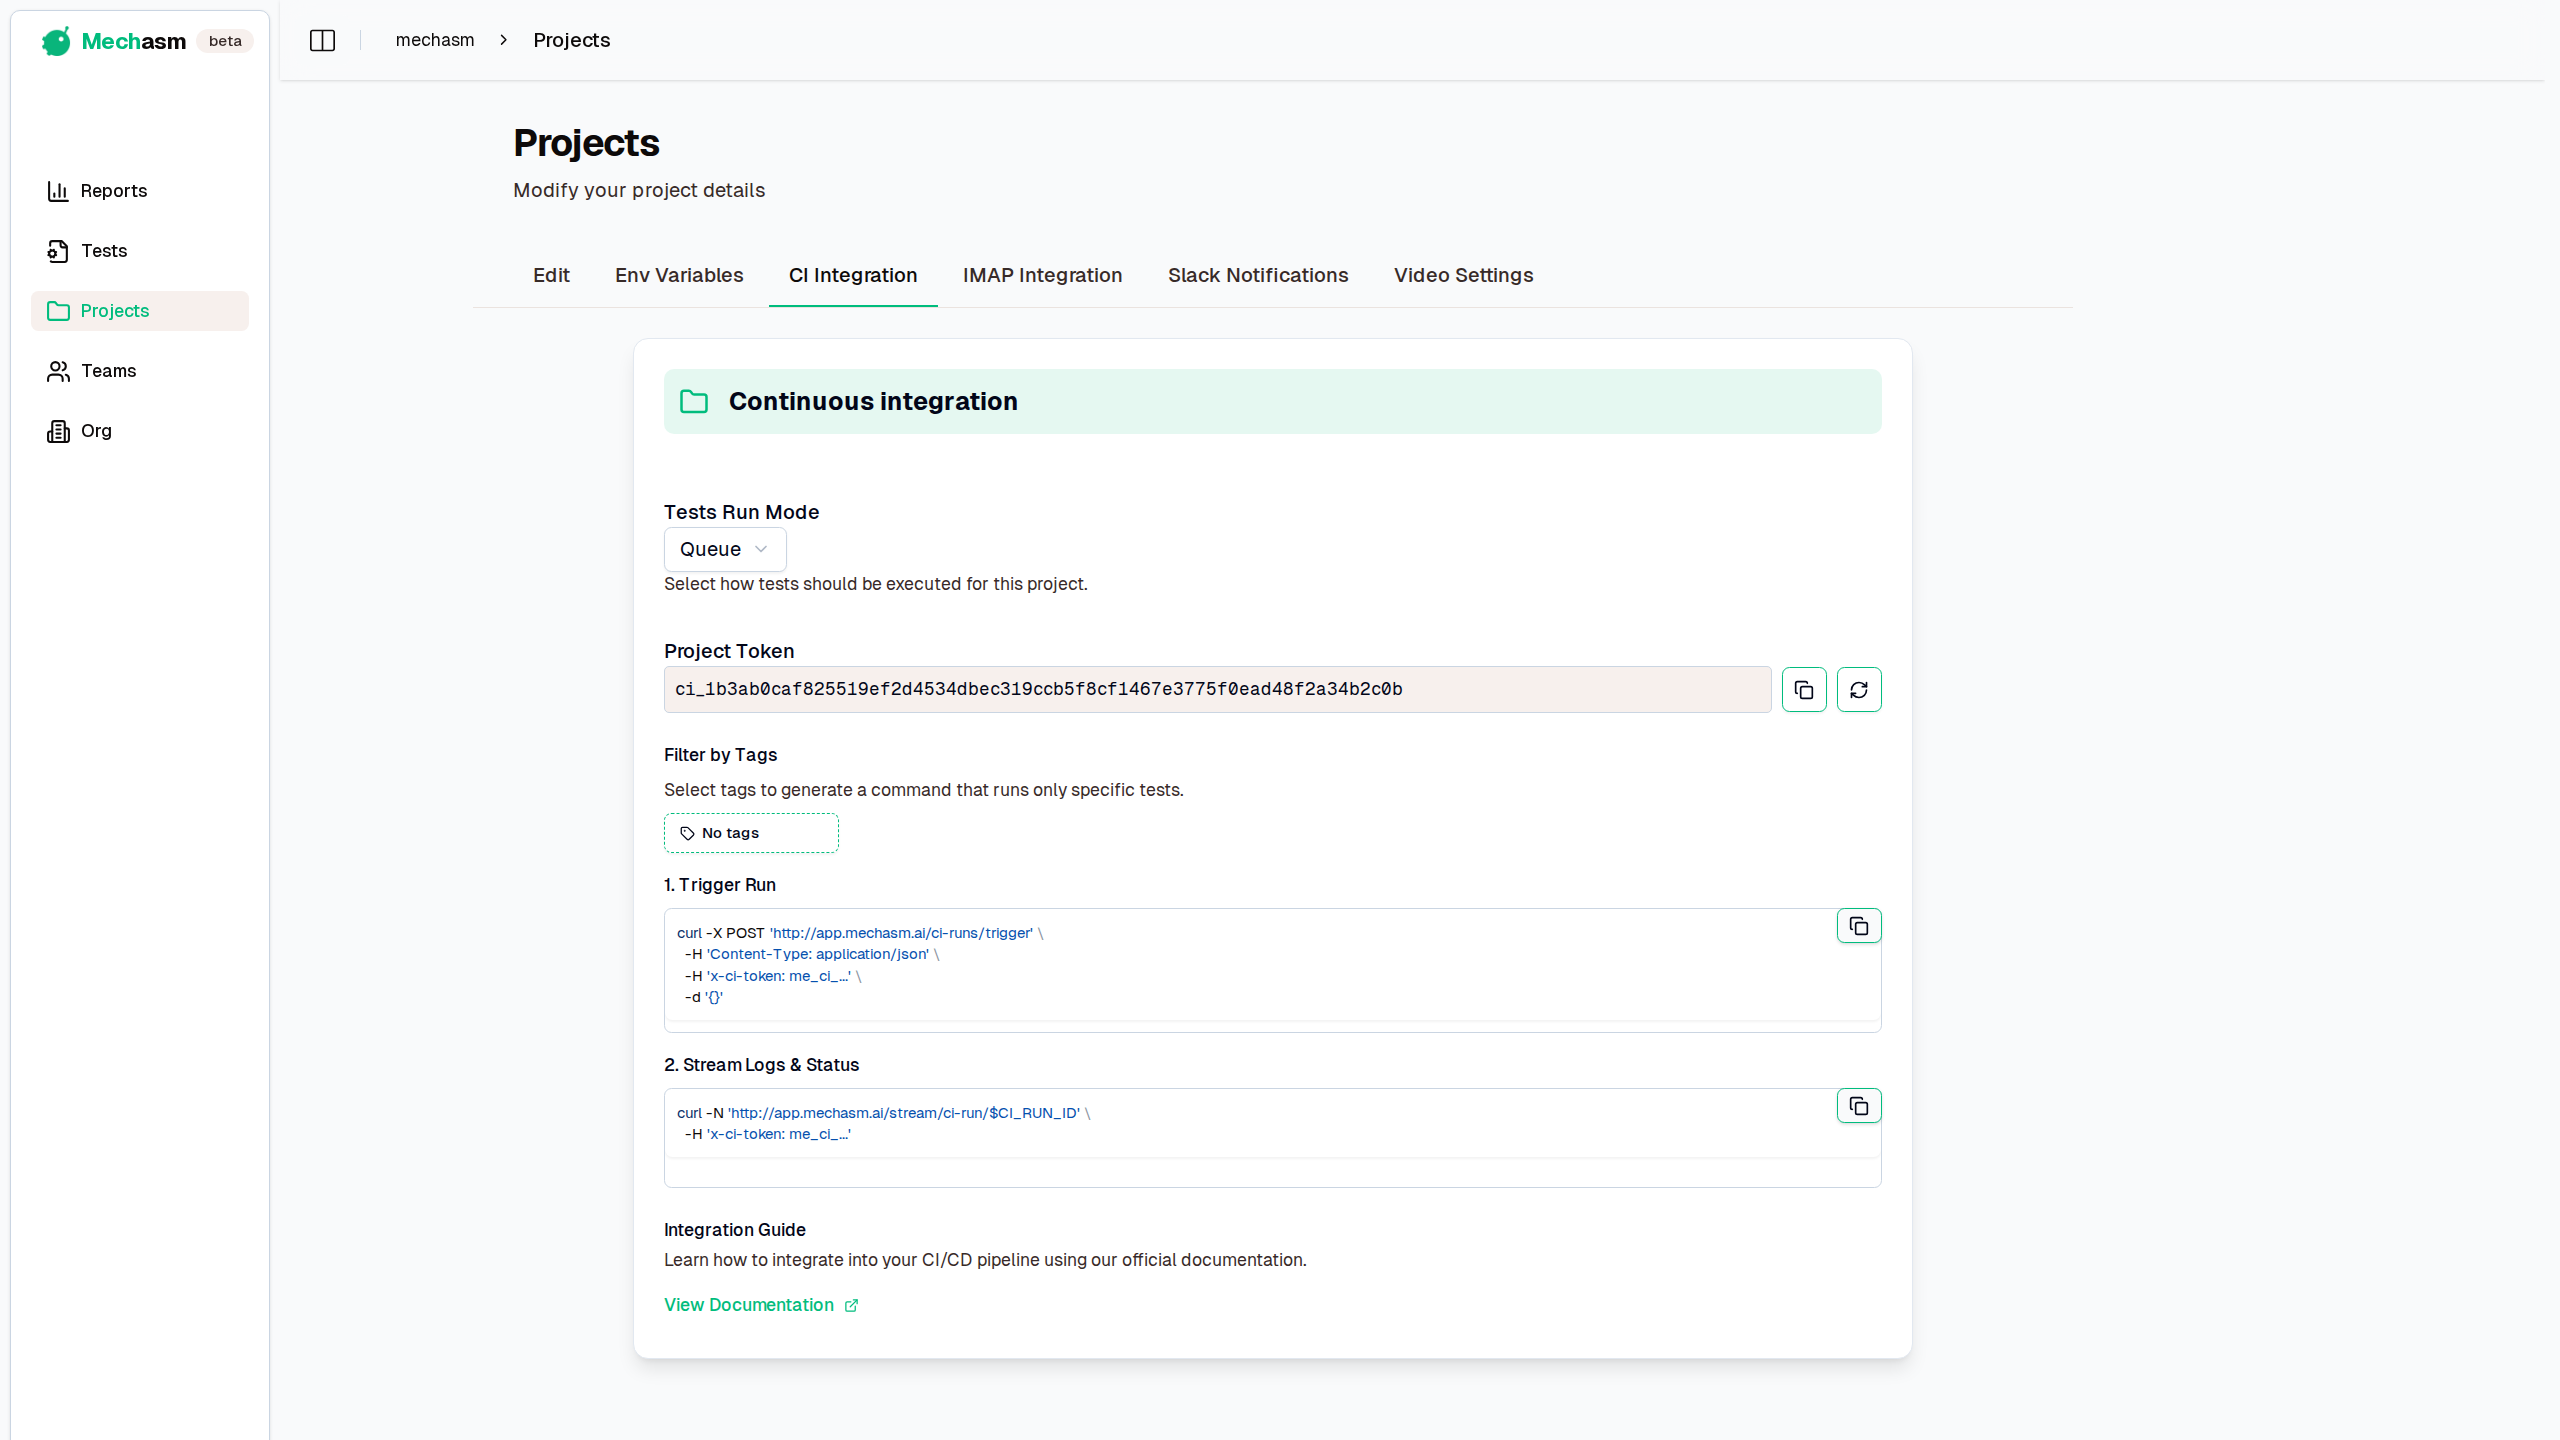
Test Run Mode
You can choose how your tests are executed:
- Queue: Tests are run one after another in the order they are received.
- Parallel: Tests are run concurrently to speed up the execution process.
Triggering Tests from CI
To run your tests from a CI environment, you'll need a CI Token. You can generate one here if you don't have one, or regenerate it if needed.
Note for Local Testing: When running this script locally, you must prepend
stdbuf -oLto thecurlcommand to disable output buffering. This is not needed in most CI environments like GitHub Actions, but is essential for local execution. Once you have a token, you can integrate tests into your CI pipeline with a simple bash script using only standard Unix tools. Here's how it works:
- Zero Dependencies: Uses only
curlandjq- available in virtually all CI environments - Real-Time Logging: Streams test logs in real-time using Server-Sent Events (SSE)
- Robust Connection: Handles long-running test suites with proper heartbeat handling
- Accurate Status: Exits with
0on success or1on failure for proper CI integration
How It Works
The script performs three steps:
- Trigger Run: Makes a POST request to start your test suite
- Stream Logs: Connects to SSE endpoint and prints logs in real-time
- Check Status: Waits for final status event and exits with appropriate code
Example GitHub Actions Integration:
- name: Run Tests
  run: |
    # Trigger test run
    RESPONSE=$(curl -s -X POST 'https://api.mechasm.ai/ci-runs/trigger' \
      -H 'Content-Type: application/json' \
      -H 'x-ci-token: ${{ secrets.CI_TOKEN }}' \
      -d '{}')

    CI_RUN_ID=$(echo "$RESPONSE" | jq -r '.ciRunId // empty')

    if [ -z "$CI_RUN_ID" ] || [ "$CI_RUN_ID" = "null" ]; then
      echo "❌ Failed to start CI run"
      echo "Response: $RESPONSE"
      exit 1
    fi

    echo "🚀 CI Run ID: $CI_RUN_ID"
    echo "📋 Streaming logs..."

    # Stream logs and capture final status from API
    PASSED=0
    FAILED=0
    STATUS=""

    while IFS= read -r line; do
      if [[ $line == data:* ]]; then
        json_data="${line#data: }"

        # Print log content
        if echo "$json_data" | jq -e '.content' &>/dev/null; then
          echo "$json_data" | jq -r '"[\(.timestamp[11:19])] [\(.testRunId[0:8])] \(.content)"'
        fi

        # Check for final status
        if echo "$json_data" | jq -e '.type == "status"' &>/dev/null; then
          PASSED=$(echo "$json_data" | jq -r '.passed // 0')
          FAILED=$(echo "$json_data" | jq -r '.failed // 0')
          STATUS="completed"
          break
        fi
      fi
    done < <(curl -sN --http1.1 "https://api.mechasm.ai/stream/ci-run/$CI_RUN_ID" -H "x-ci-token: ${{ secrets.CI_TOKEN }}")

    # Check if we received final status
    if [[ "$STATUS" != "completed" ]]; then
      echo ""
      echo "⚠️ Error: Did not receive final status from server"
      exit 1
    fi

    # Check test results
    if (( FAILED > 0 )); then
      echo ""
      echo "❌ Tests failed: $PASSED passed, $FAILED failed"
      exit 1
    else
      echo ""
      echo "✅ Tests passed: $PASSED passed"
      exit 0
    fi
Filtering with Tags
You can selectively run tests by filtering them based on tags. In the CI Integration tab, you'll find a tag selector that allows you to choose from all existing tags within the project.
- Select Tags: Click the dropdown to see a list of available tags. Select one or more tags to filter the tests that will be executed.
- Persistent Filters: The tags you select are saved as part of the project's settings. Any subsequent CI run triggered via the
curlcommand will only execute tests matching these tags. - Updated
curlCommand: The providedcurlcommand automatically includes the selected tags, ensuring your CI pipeline runs the correct subset of tests.
This feature is useful for running specific test suites, such as smoke tests, regression tests, or tests for a particular feature, without executing the entire test suite.
Assets Settings
The Assets Settings tab lets you configure how recordings (videos and traces) of your test runs are handled.

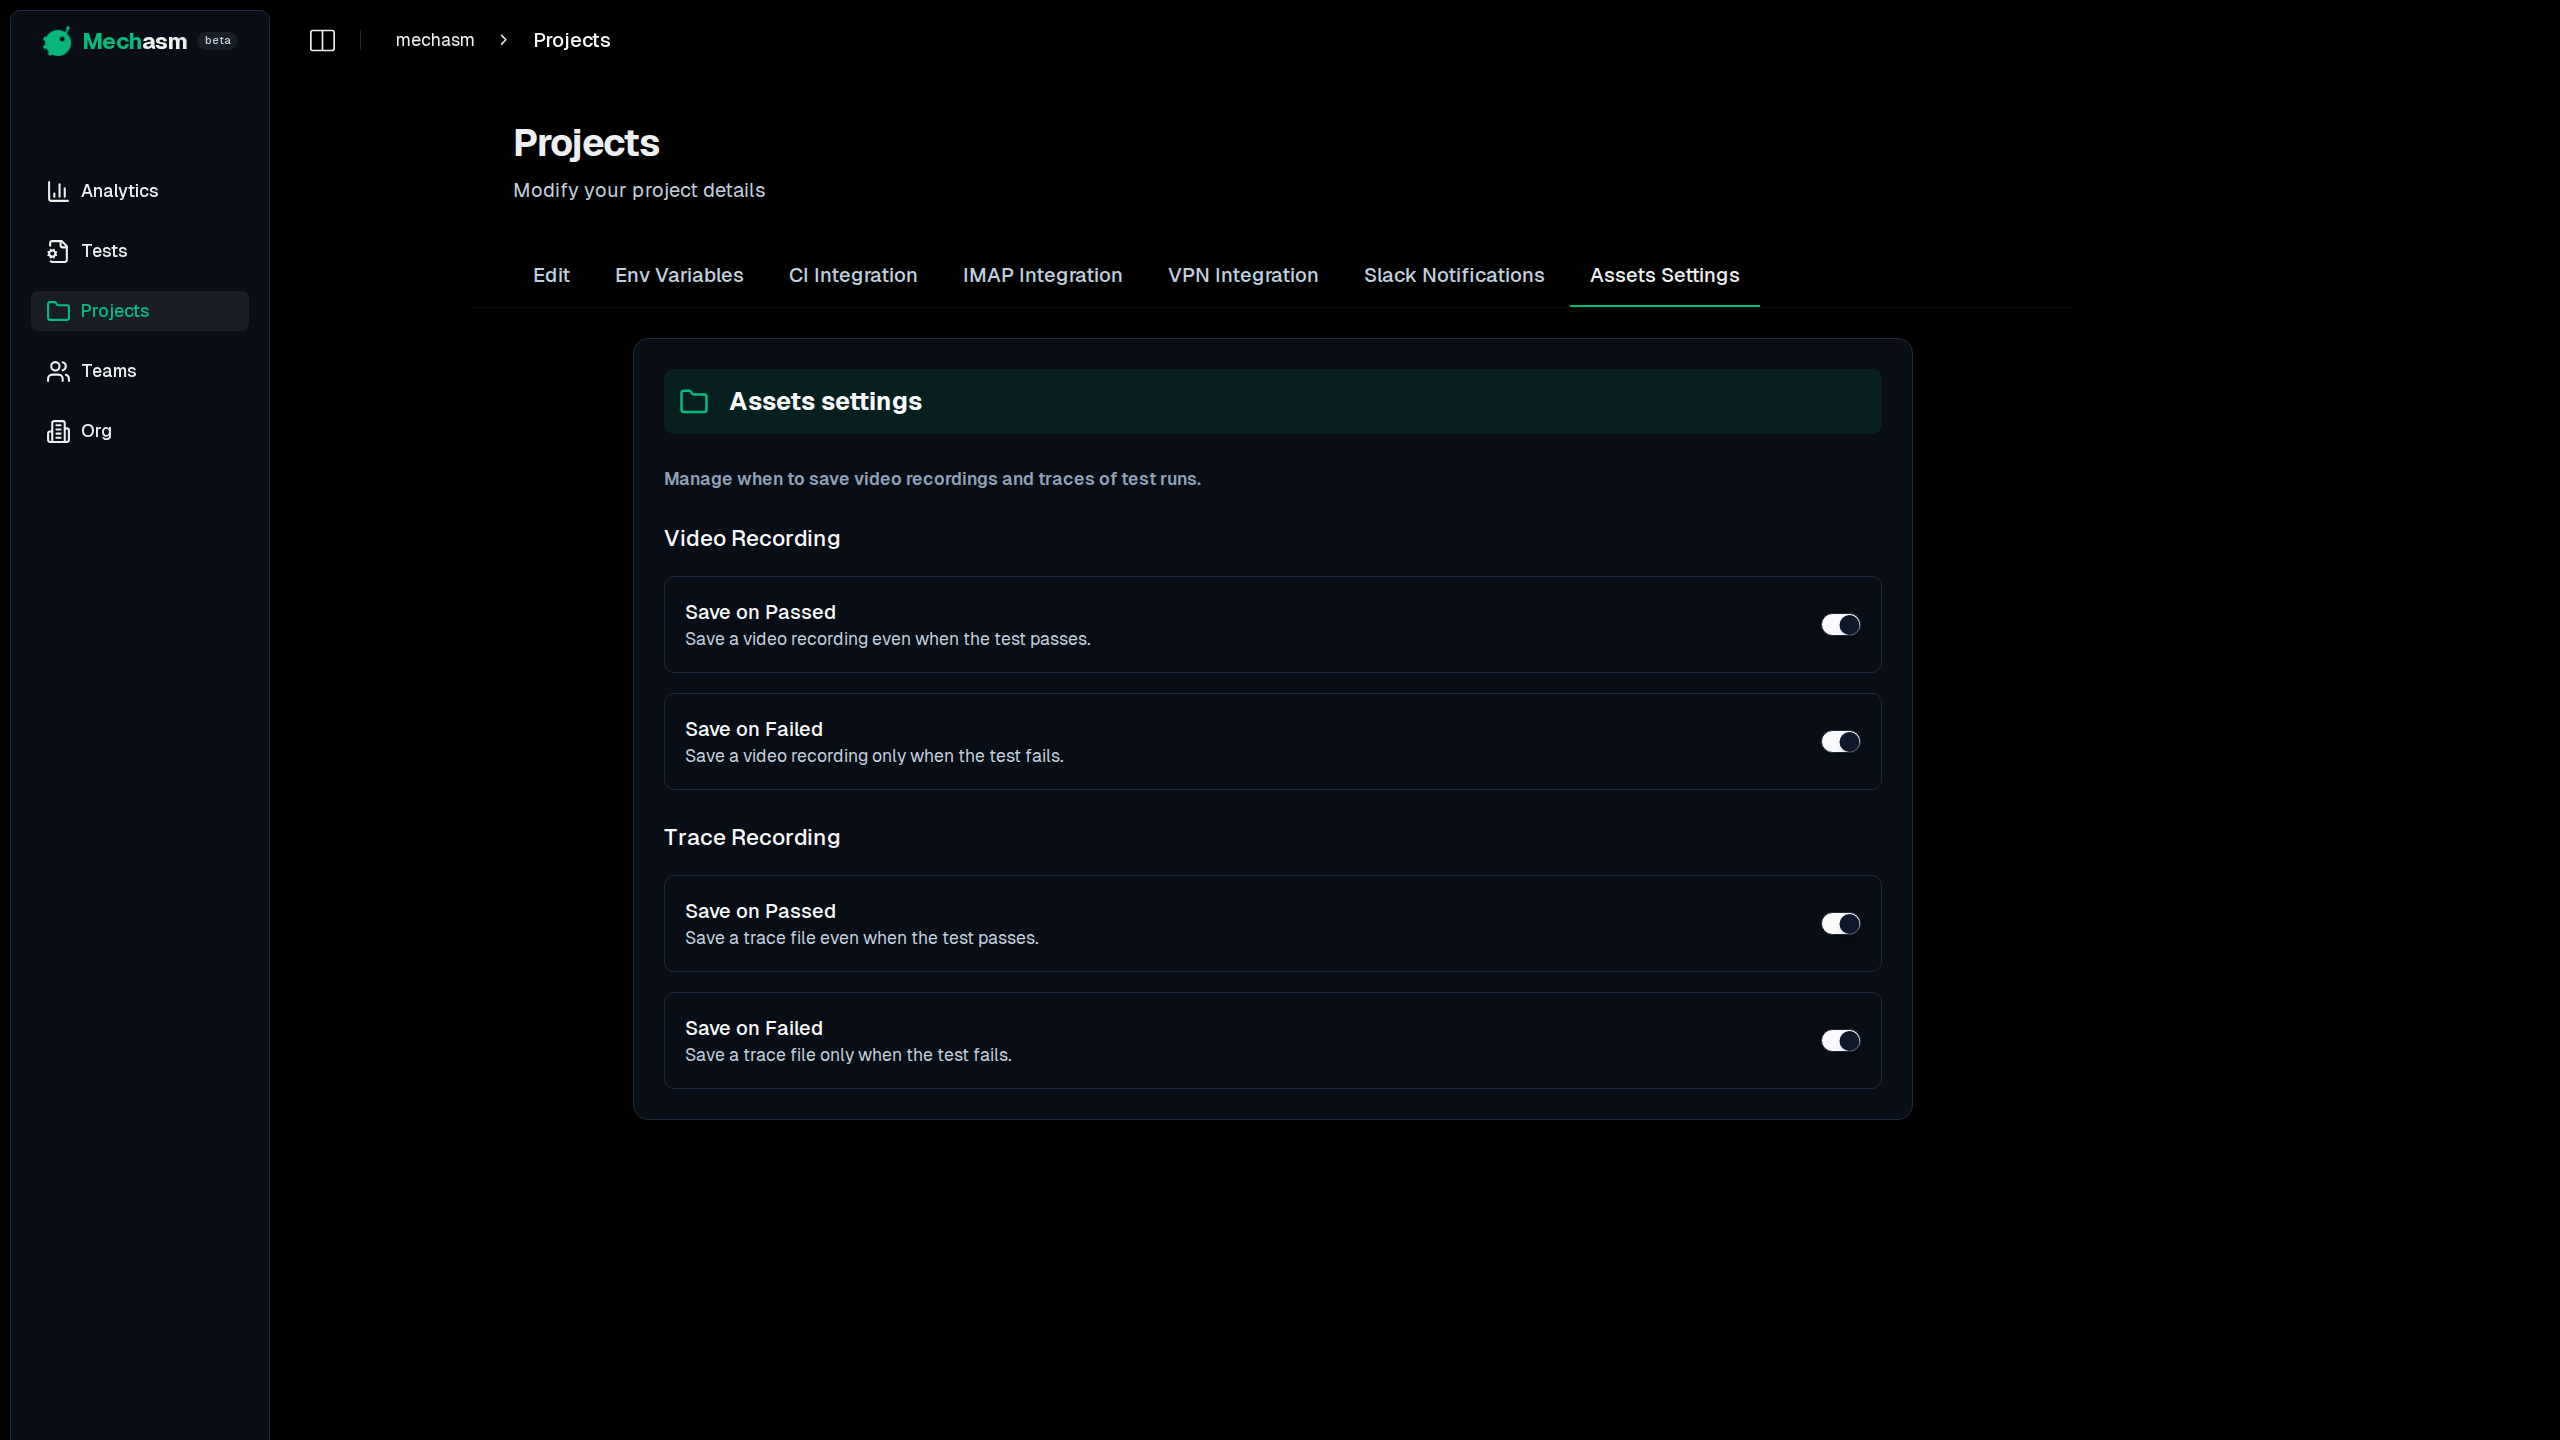
Video Recording
You can control when video recordings are saved:
- Save on Passed: Save a video recording even when the test passes.
- Save on Failed: Save a video recording only when the test fails.
Trace Recording
You can control when traces are saved:
- Save on Passed: Save a trace file even when the test passes.
- Save on Failed: Save a trace file only when the test fails.