The Test Editor is the central hub for managing a specific test. From here, you can view its status, edit its properties, and trigger new test runs.
mechasm.ai/dashboard/tests/...

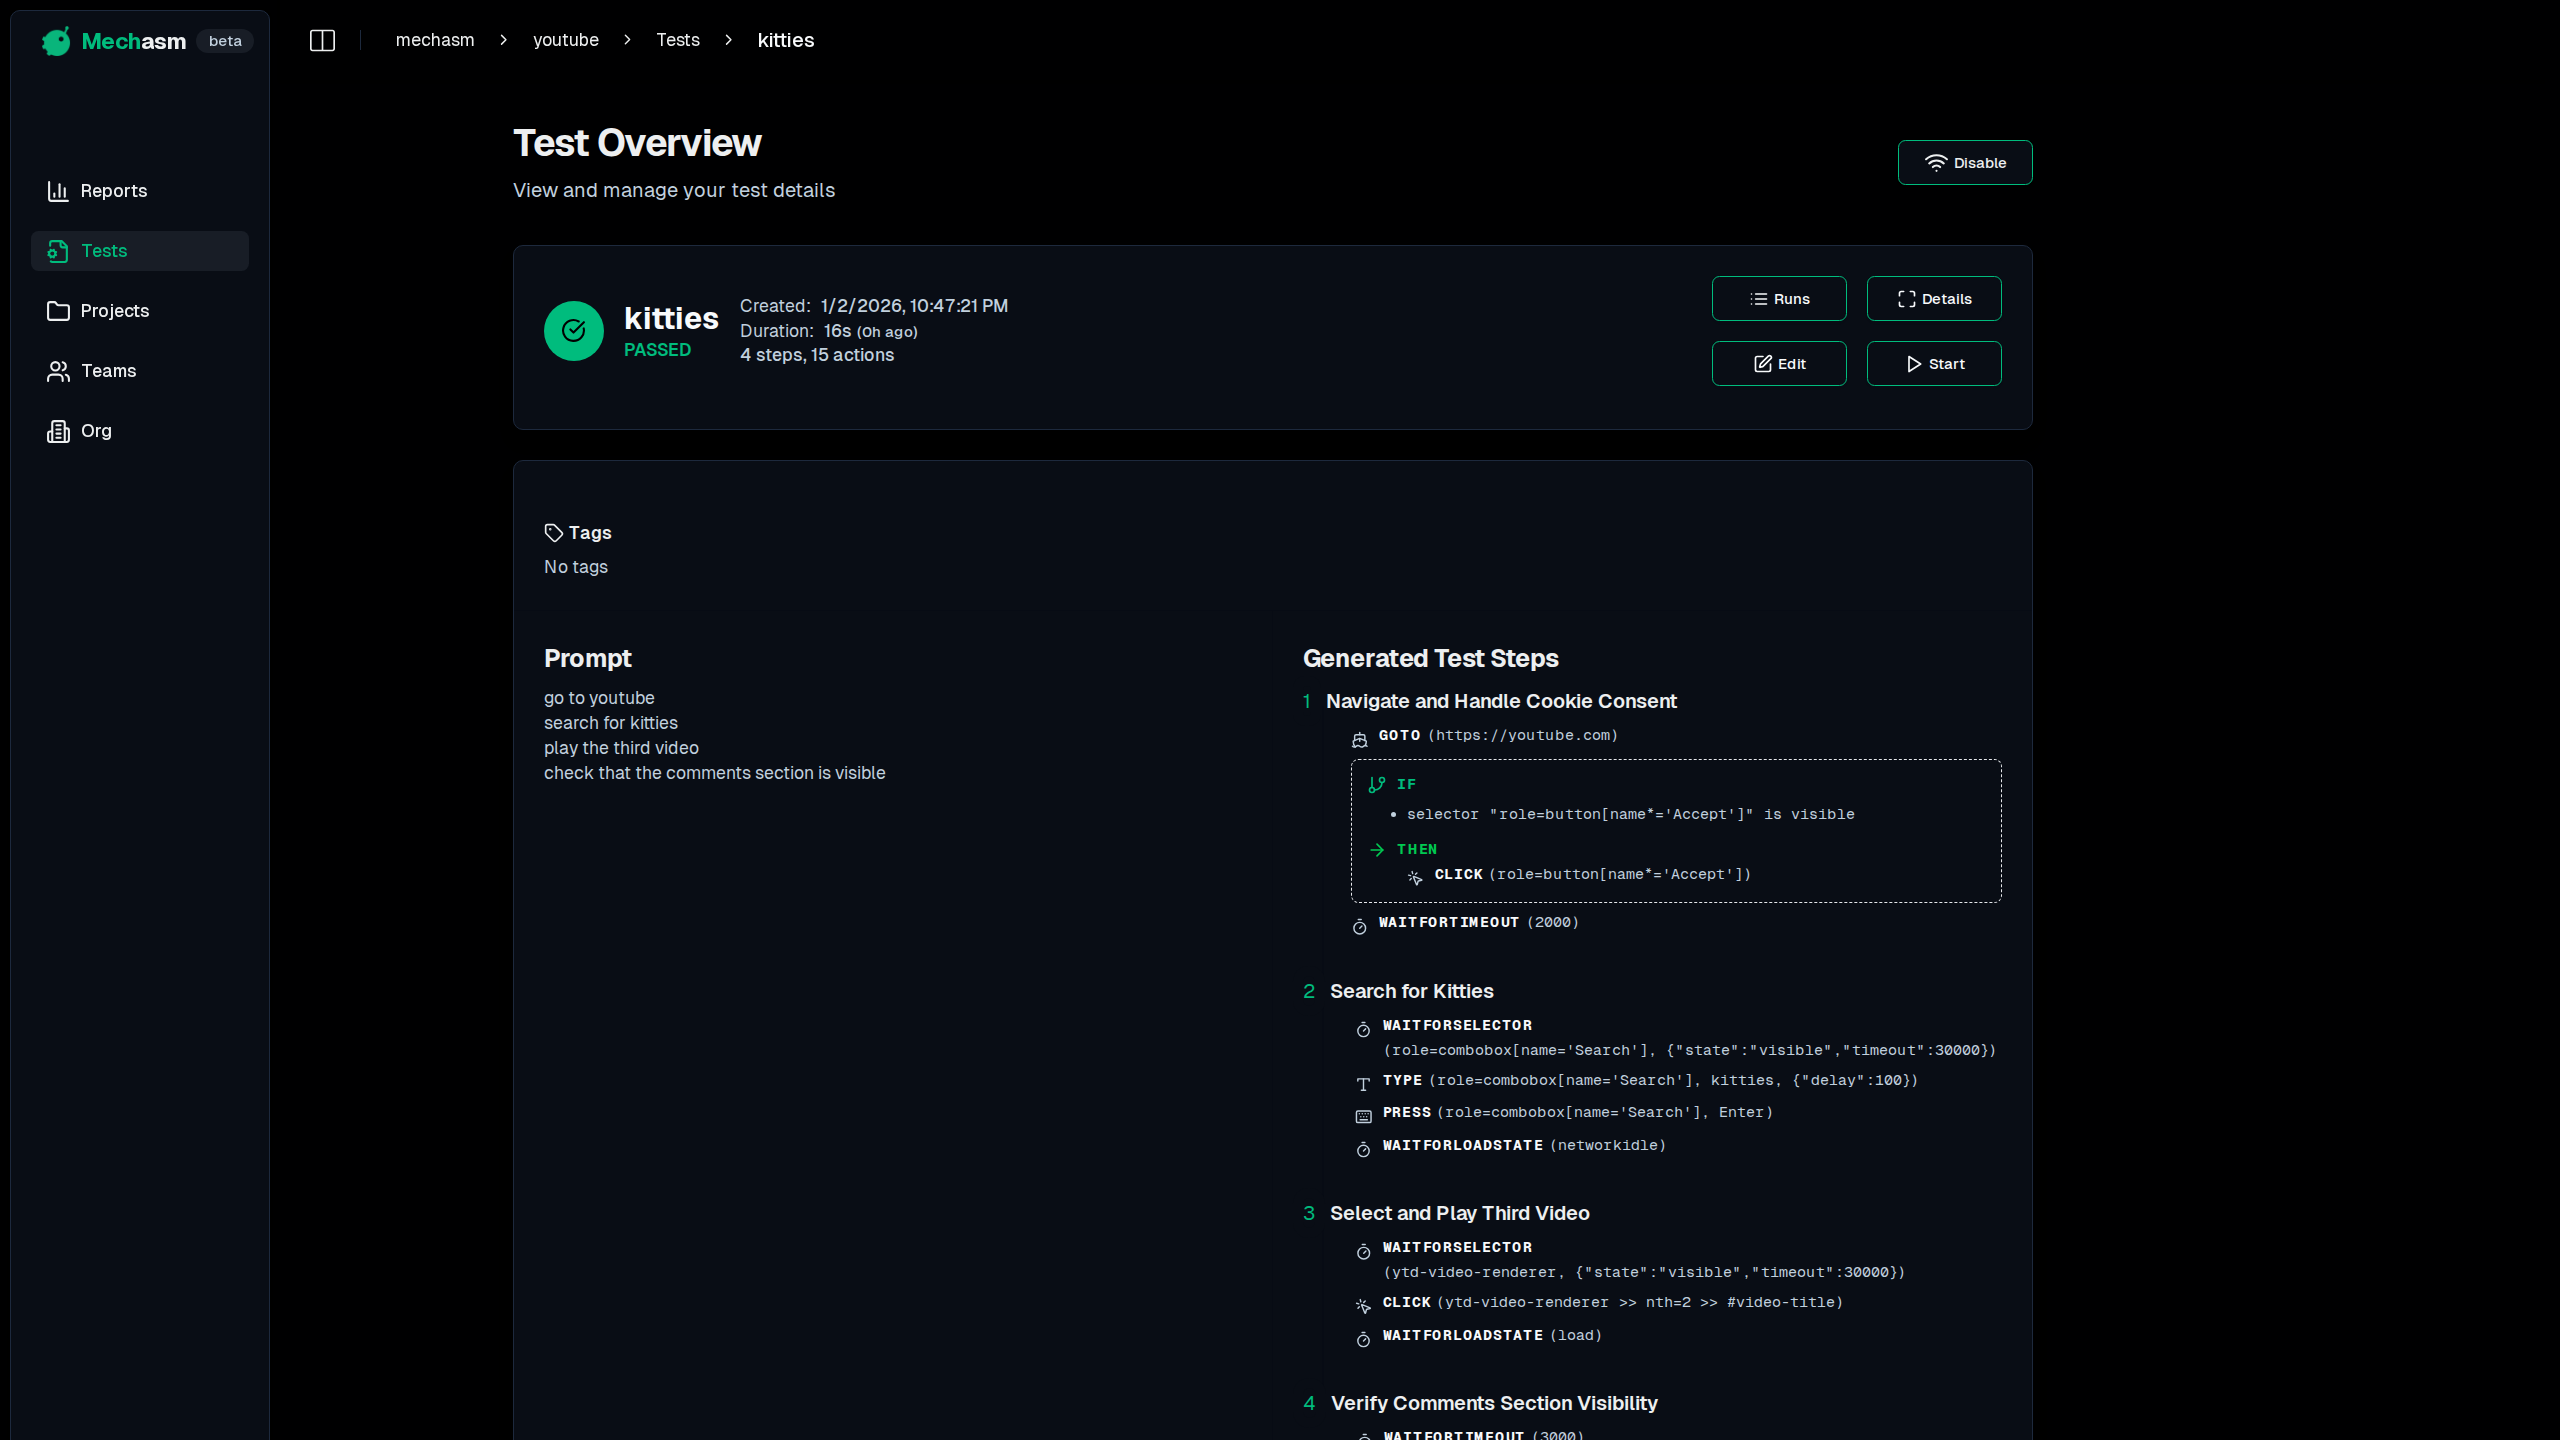
Test Overview
At the top of the page, you'll find a summary of the test, including:
- Test Name: The name of the test.
- Status: The current status of the test (e.g., Passed, Failed, Running).
- Last Run: The date and time of the most recent test run.
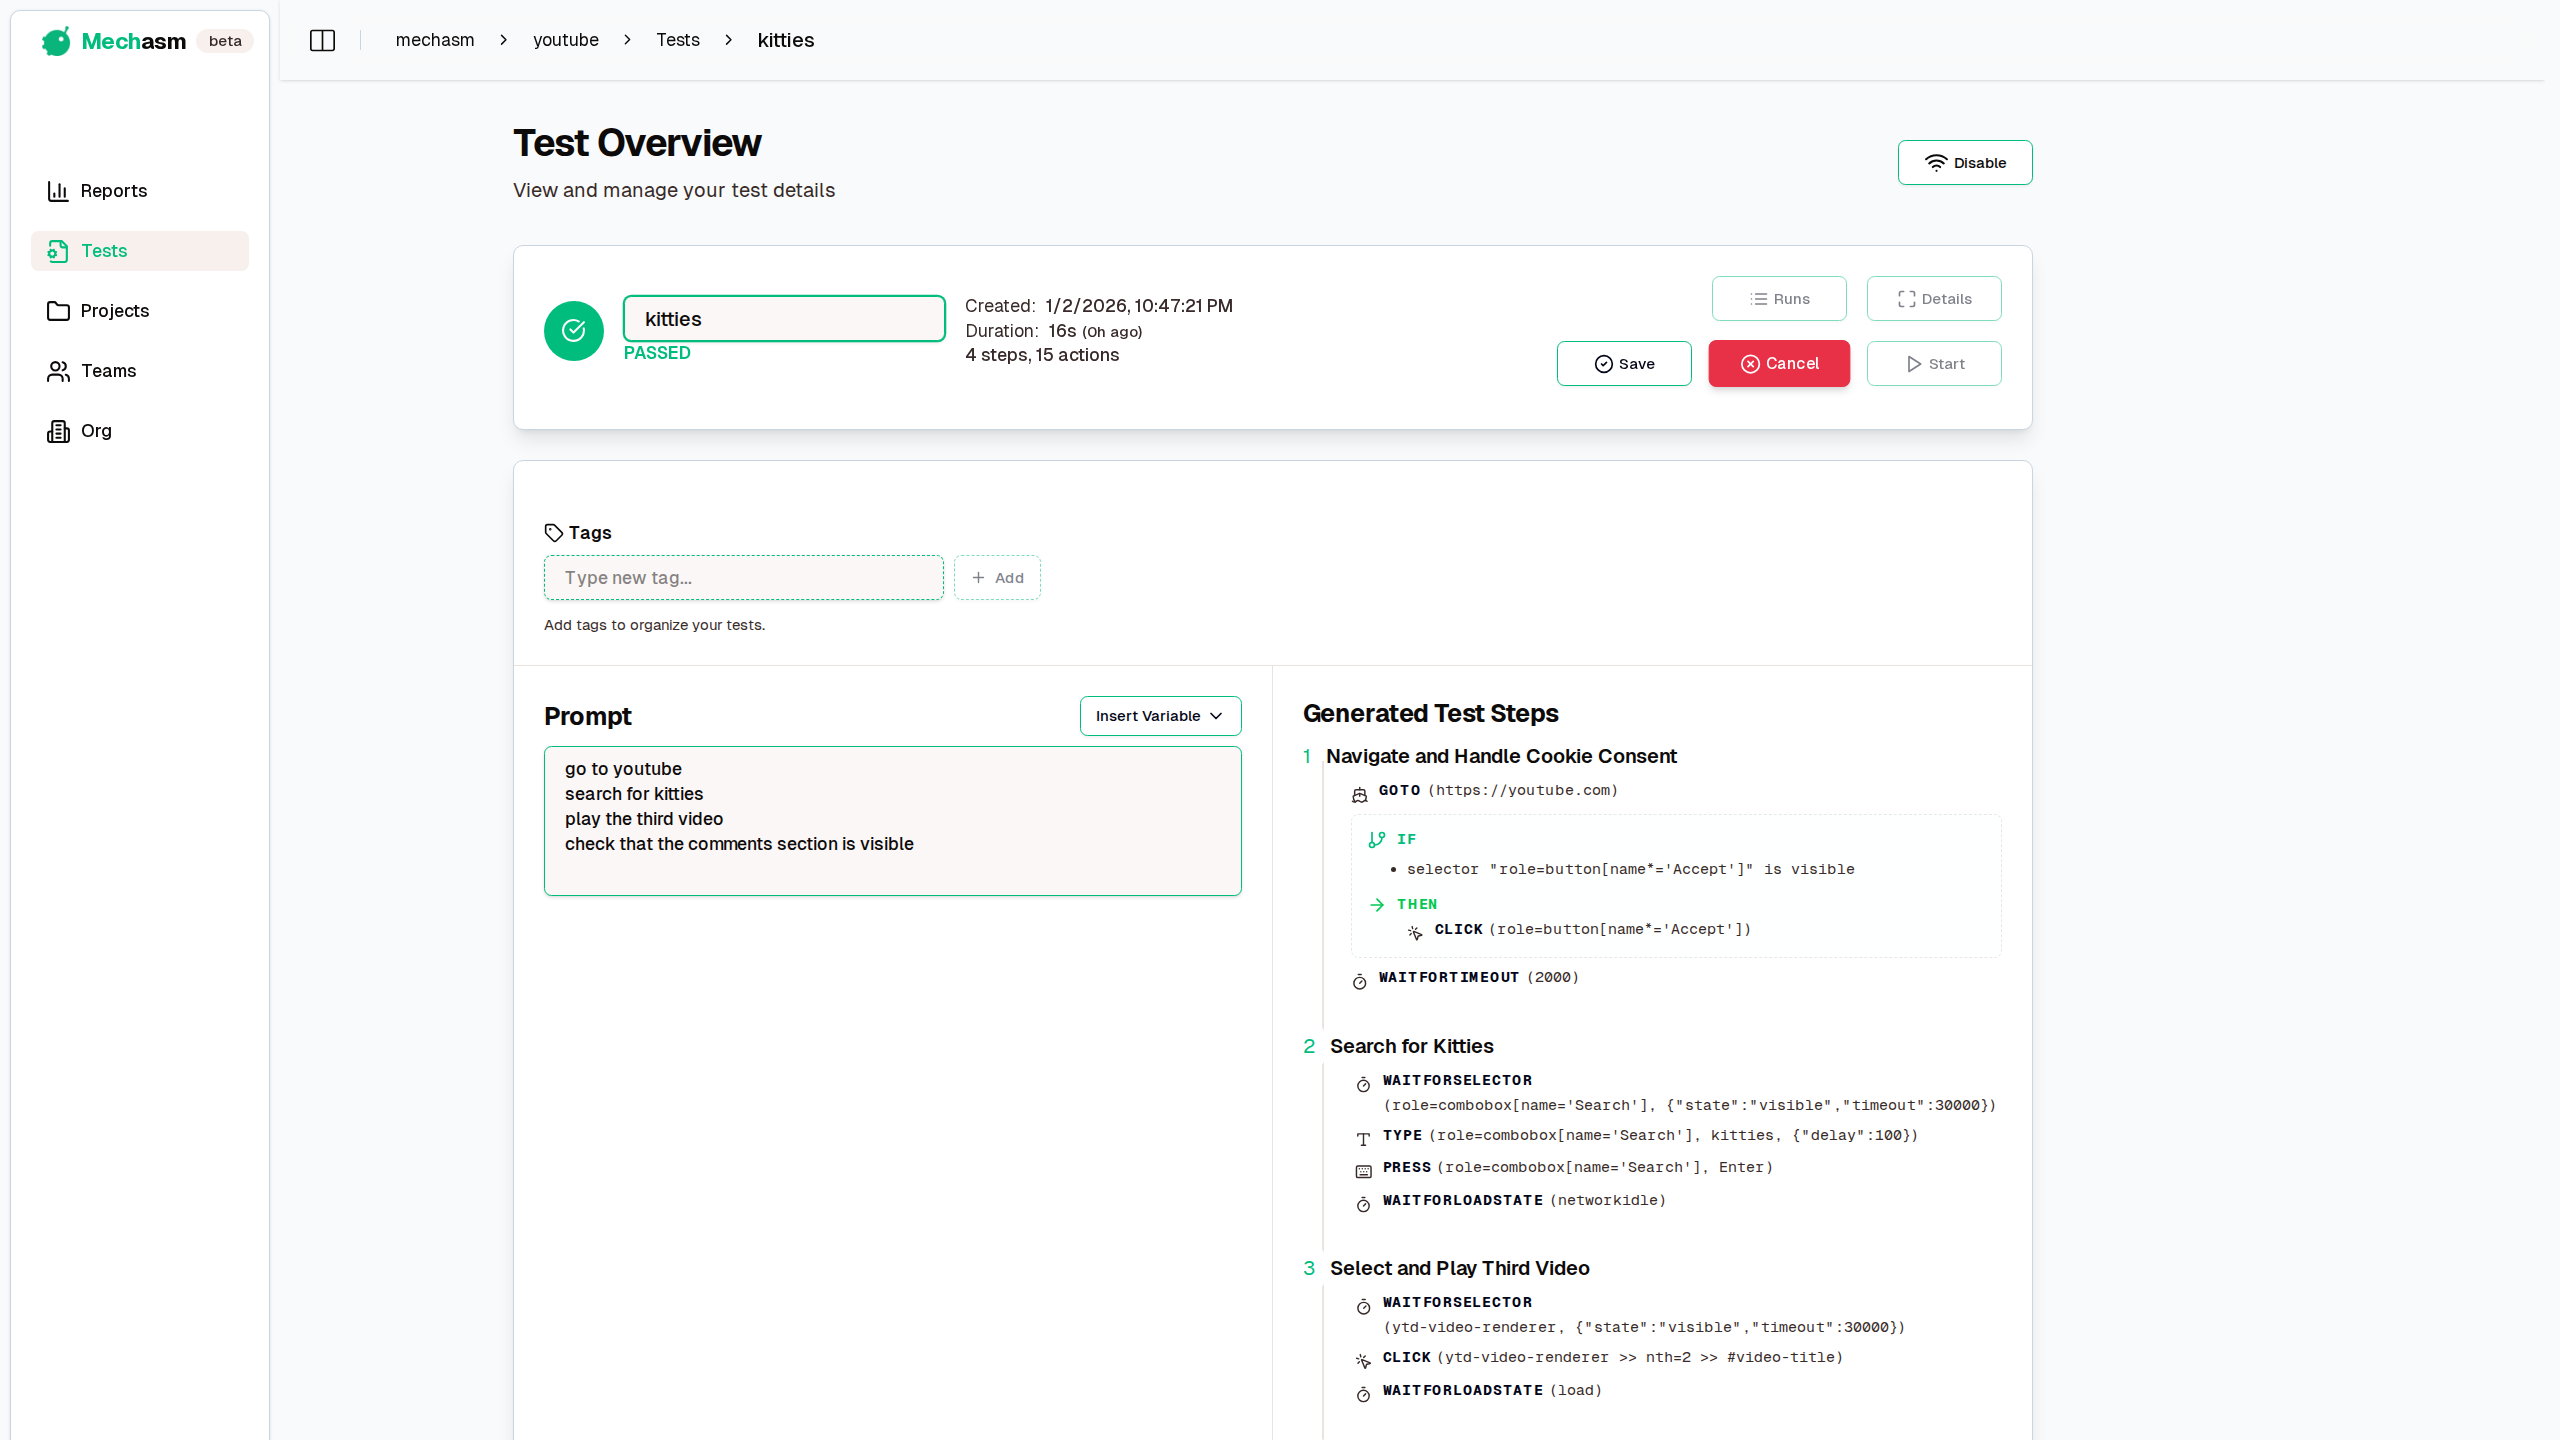
Editing a Test
You can easily modify the test's name, prompt, and tags by clicking the Edit button. This will enable an editing mode where you can make changes and save them.
- Name and Prompt: Modify the test's name and instructions as needed.
- Managing Tags: You can assign, create, or remove tags to better organize your tests.
- Select Existing Tags: Click the "Select existing" button to choose from a dropdown of all tags currently used in the project.
- Create New Tags: Type a new tag name into the input field and press Enter to add it.
- Remove Tags: Click the 'x' icon on any tag to remove it from the test.
mechasm.ai/dashboard/tests/...
Prompt and Generated Steps
The editor is divided into two main sections:
- Prompt: This is where you define the test's instructions in natural language. When in edit mode, you can also insert environment variables directly into the prompt.
- Generated Test Steps: This section displays the test steps that have been automatically generated from the prompt.
Playwright Export
If a test has already finished and has generated steps, you can export it as a Playwright file from the Test Editor.
- Export: Requests a Playwright version of the current generated test.
- Download: Downloads the latest exported
.spec.tsfile when it is ready. - Replacement behavior: Each new export replaces the previous export for that test.
Running a Test
To execute a test, simply click the Run Test button. This will trigger a new test run, and the UI will update in real-time to show the progress and results.